Fall Leaf Stamping Art - A Fall Classroom DIY for Grades K-4
5th Nov 2024
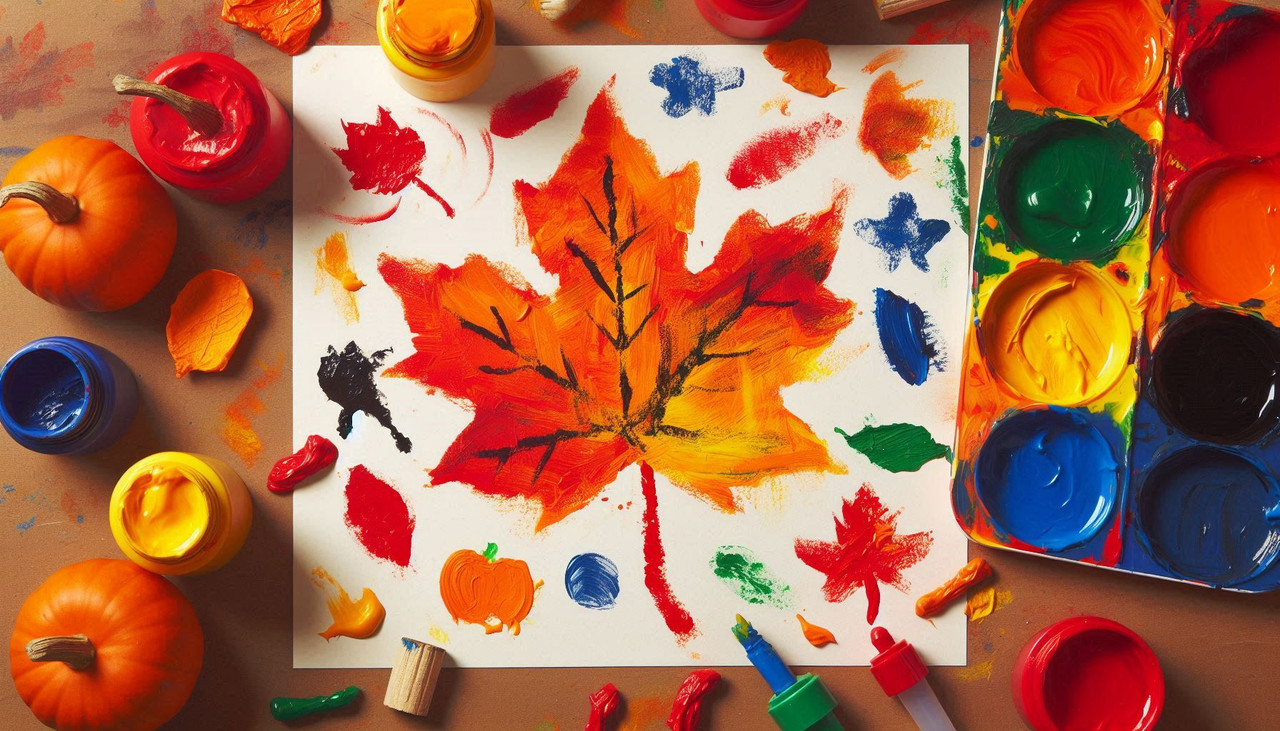
Get your young creative students excited about fall with this simple and fun Fall Leaf Stamping Art project! Using real or paper leaves and paint, students will create beautiful leaf stamp designs, all while exploring natural textures, symmetry, and shapes. This hands-on activity is budget-friendly and perfect for fall-themed lessons.
Supplies Needed:
- Non-toxic paint (various fall colors like red, orange, yellow, and brown)
- Sponges or brushes (for applying paint)
- Fall leaves (real or paper cutouts)
- Construction paper (as the base for the artwork)
Step 1: Collect Leaves
Start by having students collect real leaves from outside, or you can pre-cut leaf shapes from paper if needed. Encourage students to look for leaves of different shapes and sizes, as this will add variety to their artwork.
Step 2: Prepare the Paint
Set up stations with non-toxic paint in small trays. You can use typical fall colors like red, orange, yellow, and brown to match the season. Provide sponges or brushes for applying the paint to the leaves.
Step 3: Paint the Leaves
Once the leaves are ready, students will use a sponge or brush to lightly coat one side of the leaf with paint. The goal is to get an even layer of paint across the entire surface without making it too thick or drippy.
Step 4: Stamp the Leaves
Have students gently press their painted leaf onto a piece of construction paper. Encourage them to press firmly but gently, making sure to get all the details of the leaf veins. They can stamp multiple leaves in different colors to create a collage or fall-themed picture.
Step 5: Explore Patterns and Textures
Encourage students to experiment with overlapping leaves, using different types of leaves, and trying different color combinations. As they stamp, they’ll notice the textures, symmetry, and natural patterns of the leaves appearing on their paper.

